Wednesday, 21 May 2014

WIP Wednesday

I didn't do a lot this past week, but did have a little fun.

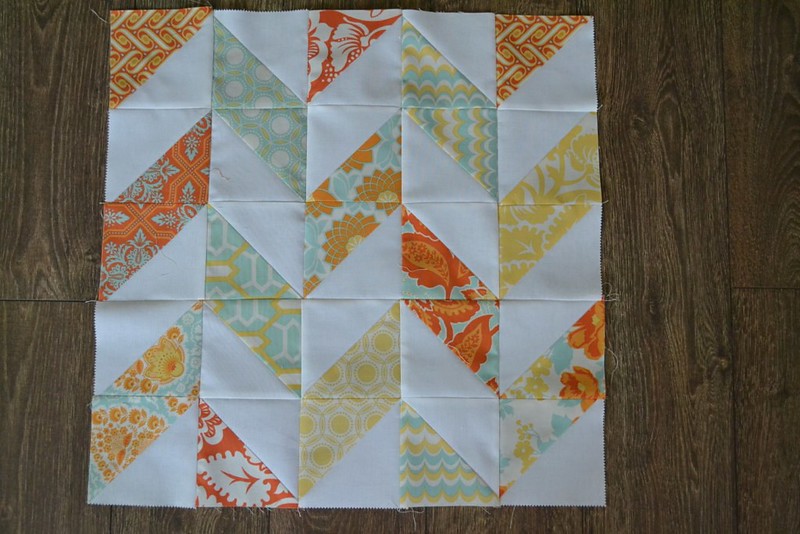
First off, I used left over squares from Abby's baby quilt to make some HSTs  and decided to go with the chevron layout to show them off.  It's one of my favourite collections ever so I figured that I had better get it up on my wall in my little sewing room.
I'm sure sometime soon I will get it quilted and bound, the nice thing about minis is how quick they are!! That and table-top basting.

DSC_0033

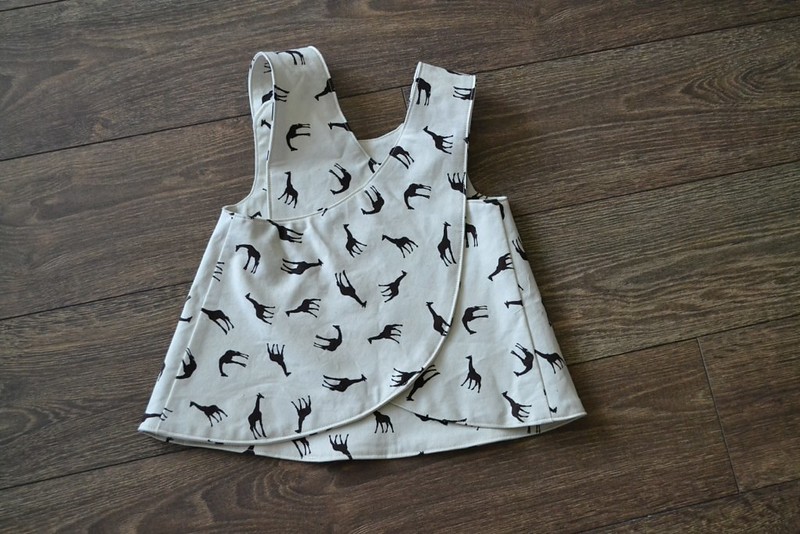
Other than that I did some more clothing sewing.  This little top was mostly done a while ago, but I couldn't figure out my button hole attachment so it languished almost complete for a bit.  I used a tutorial from Pinterest.  
It's supposed to be 6-12 months but is massive so I think I must have had the scaling wrong and not realized it.  It'll be cute whenever it fits though!

DSC_0028

DSC_0029

The following two pics are of my little munchkin wearing some leggings that I made for her from pants of mine that I no longer wear.  I just love sewing tiny clothes, and leggings are really easy!!

DSC_0011
How awesome are those moccasins?!?!

DSC_0003
That neck thing started as a headband, but works better like this.

Wednesday, 14 May 2014

WIP Wednesday

I didn't do a whole heck of a lot in the last little bit.  Below are the next two blocks in my Harry Potter bookshelf quilt.  For those of you who know HP, that little bottle is Felix Felicis :-).

Harry Potter quilt

The next block on my table is going to be a tough one as you can see--the classic glasses!  Wish me luck.

Harry Potter quilt

I made some bunting to decorate the top of my peg board in my sewing room.  I probably could have done a couple less pieces and spaced them out more.  The fabric is Frog Prince by Tula Pink and I love it.  Either way, it's a nice addition to my room.

Some bunting to brighten my sewing room.

I took the plunge and purchased a Nessie top pattern from Craftiness is not optional.  I did my first attempt with an old t-shirt of mine because I don't want to use my precious purchased knits until I know I can do a good job.  I used the t-shirts' sleeves edge so that's why they look so good!  The neck line is where I need the most work, but all in all it wasn't awful.

First attempt at the Nessie top. I used an old t-shirt so I don't waste good fabric. I cut the sleeves from the existing sleeves to get that edge. I also used a stencil and sprayed bleach water to make that design. Bottom will stay serged-nice contrast.

I wanted to glam it up a bit so I used some bleach water and sprayed it over a stencil--I'll likely use that trick again!  The bottom edge is just serged to give it a neat look--I didn't feel like hemming it!!

Here is Abby in her Nessie top. It's a little big which is fine, but I really need work on that collar. I think I need to stretch it more?
It's a little big.  Love those legs!!!
Last but not least, I said that when I got her to wear it I would provide a picture of Abby in the top I made for her.  So here's two!

DSC_0004
I cut the back too short, hence the extra bit!

DSC_0011
Hey guys.


Linking up to WIP Wednesday with Freshly Pieced and Finish it up Friday with crazy mom quilts.

Wednesday, 7 May 2014

WIP Wednesday

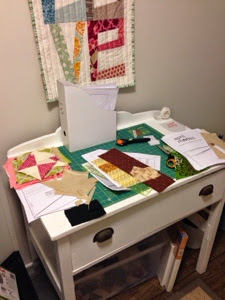
It's been for a little while, but I am really loving having my own space for quilting.  What a difference it makes in productivity and cleanliness levels.  We have a few things left to fix up in my sewing room, but I think that when it is done I will post up some pictures because I'm so proud how well it turned out!

Anyways, this week my friend Jess and I continued along our journey through the quilt blocks in Vintage Quilt Revival.  If you look below you'll see our efforts, her's is on the left and mine is on the right.  I'm so impressed with how much she has improved since we started.  I am continuing to try and branch away from my usual fabric choices. 

DSC_0044

The lighting is not great because I took these late in the day without much natural light so you can't get the full effect, but this block has a nice "jewel tone" to it, which I really dig but never seem to do!

DSC_0040


Here is the third little top that I've made in this pattern with a print from the Little Ones fabric line--I love it so much!  It was a real lesson in patience because of how many times I messed up but in the end it's delightful (and I will never mark pattern pieces on the good side of my fabric ever again).  I used double fold bias tape that I bought on the sleeves, and for this top I made the neck pieces bigger on my own--I much prefer that look!

DSC_0039
This one is for my little one, so when she wears it I will take and post a picture :-)
Here is a cute little pair of leggings I made as a baby gift.  But, once again, I messed up.  I had the stretch going up and down, not side to side, by accident.  So I cut off the top and replaced it with some fabric with the stretch going the right way.  I hope these work!!

DSC_0030


DSC_0027
Bonus baby picture for those who made it this far!

IMG_1953

I was so excited to get this bundle in the mail.  The top five fabrics are knits and one voile, and the rest is some Penelope by Camelot Cottons and yardage of a home decor Bungalow from Joel Dewberry (see usage below).

IMG_1955

And here is my "custom" ironing board.  I just stapled some batting, insul-brite, and the fabric onto a scrap piece of plywood I cut to size.  I plan to attach it to my ironing board stand for stability, but I am pretty excited about this.

Wednesday, 30 April 2014

Trying new things

So, I have to admit, I am never a person to do things halfway.  And now that I have tried out sewing clothes, I find that I really like it.  I am thinking that part of that is accounted for by the fact that you can finish what you start in one day.  Sometimes. 

Clothes in progress for Abby.

The above soon to be outfit is based off of two separate tutorials from online, pants here and shirt here.  The giraffe fabric is from Fabricland, it's a stretchy fabric of some type, not the greatest quality I would guess (but $5/m was pretty awesome!), and the bloomers are a quilting cotton. The top is much bigger than I thought and will in no way fit Abby  at this time, but I am concerned that the bloomers will just fit if at all--her legs are pretty chunky.  So, I'm at a standstill.  Also I need to learn how to do a buttonhole.  Yikes!


DSC_0109

This top comes from this tutorial, and I love it! In fact I've already made another.  This was a gift for a special birthday girl and I didn't have anything to give her so I thought I could make it.  Love this fabric for baby clothes too!

Marlayna


In quilting news, I decided that I wanted to make a mini quilt to hang in my sewing room.  I plan to have a few over time, so this is the first.  Although Adam likes it so much it may end up in the house proper.  Oh well, I can always make more!

DSC_0130

DSC_0139

I tried something new with the binding where you make a pocket and tuck the end in, as well as zig-zagging it.  I'm not loving the pocket just because it makes it so bulky, but I love the zig-zag!! Also, this is the binding that I made for one of my first quilts ever, and way way way over guesstimated how much I needed, so it shows up on a lot of projects, luckily it's great.


DSC_0136

I used the walking foot to quilt straight lines one inch apart.  I thought that it would be better to keep the quilting simple and I really failed hard the last time I tried to straight line quilt so I thought wider spaces might help.

DSC_0133

Last but not least, I have started a big project as a gift for my sister.  It is aptly titled the Project of Doom, and is a paper-pieced Harry Potter bookshelf quilt.  My sister and I are both big into HP so I'm pretty pumped.  And so is she!!


Untitled


Untitled

I will be linking up to WIP Wednesday  at Freshly Pieced and Finish it up Friday with crazymomquilts, have a great week everyone!

Tuesday, 15 April 2014

Better late than never.

Well, I can't remember exactly when I finished this top, although it probably is somewhere in my blog, but it was definitely in 2012.  And it languished for a long time, just needing me to finish squaring it up and put on binding.  Nothing complicated or long term! But, I wasn't ready to finish it? However, it is finally complete!!


DSC_0085


DSC_0086
This was from a QAL by Sew Happy Geek, button is on my sidebar.


DSC_0088

I used leftovers from the piecing to make the binding, I had it going so that the colours graduated all the way around but I made way too much so had to cut it short so it doesn't quite work out.


DSC_0089

I still like this quilt, but I know my tastes have changed since I put this together--it's not my favourite, but my hubby likes it so that's a win.  Not that I don't like it.


DSC_0158

Jess and I put together our next blocks for our quilt, her's on the left and mine on the right.  I'm doing the layout from the book that has borders around all of the blocks so I chose to do it all with that herringbone print.


DSC_0161


This was pretty scary to make.  My niece turns 2 years old today, and I didn't get a chance to go to the city and buy something so I decided to make something.  The pattern and tutorial for this top can be found here.

DSC_0163

It is reversible, and I made quite a few mistakes, but they were all salvageable, although the ties are clearly noticeable (I didn't realize I needed 4 ties and didn't have enough turquoise) I figured that wasn't the worst thing that could happen.  It took me quite a long time to make this, but I do feel a little braver about sewing clothing and perhaps I will try again in the future.  I do hope that it fits though!!

Linking up to finish it up Friday at crazymomquilts!

Tuesday, 1 April 2014

Abby's Baby Quilt!

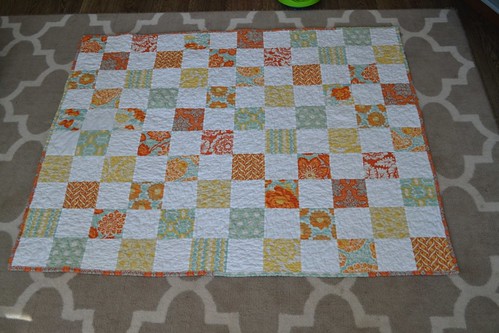
Well, there was long period of time where this project sat in limbo, but I finally buckled down and finished it!!

DSC_0046

DSC_0048


The fabric is Heirloom by Joel Dewberry in Citrine.

DSC_0047


I used mostly the one orange fabric for the binding but stuck a few random pieces of other patterns in to mix it up.

DSC_0059


DSC_0058


I quilted it in an all over stipple, not too small scale, with some 'hidden' gems.  There's some hearts, flowers, and her initials.

DSC_0049
There actually is a heart there.


DSC_0050
That's one of the (kinda) flowers.


The backing is my favourite pattern from the line, and I bought that little stat square from a local lady who does that sort of thing with her embroidery machine.  I knew as soon as I saw the idea that I wanted to sew it into the quilt, and it worked out smashingly.

DSC_0051


I was going to put it in the centre of the quilt with the floral pattern all around--I have lots more--but I decided that this way I a) didn't have to cut any of the patterned fabric, I just used the length I'd trimmed a while ago, and b) I could save my yardage for something else, like a bed skirt or curtains or something!

DSC_0052


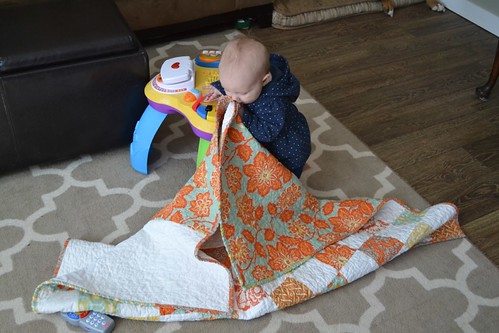
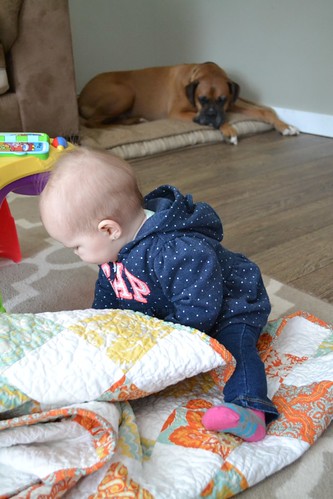
I think she likes it!

DSC_0061


DSC_0062


DSC_0064

I'm linking up with Lily's Quilts Fresh Sewing Day, and Finish it up Friday at Crazy Mom Quilts!
Lily's Quilts